A Quick Guide to Photo Editing Tools
Brilliance, vibrance, tint, highlights, shadows, white balance, black point… what are they, and when to use which?

Nowadays, every photo app includes an image editor. Primping tools such as filters, frames and stickers are easy enough to understand. But what to do with vibrance, saturation, highlights, shadows, tint and grain? Randomly tweak a few of them a bit, or simply ignore them? Wouldn’t it be nice to know exactly what they do, and when to use which?
Here is a simplified explanation of the image editing tools commonly found in smartphone and desktop apps.
Before you edit photos
With photo editing, less is more. A little fine tuning with the right tools will visibly improve a photo, while unnecessary or excessive edits will ruin it. An edited photo shouldn’t look edited. If it’s fine without editing, let it be. Your phone’s software is optimized for point-and-shoot use. Trust it.
Editing won’t improve blurry, out-of-focus photos. It also won’t magically turn grainy photos into high resolution images. What you can fix is lighting, color and composition. To decide whether your photo needs editing, first look at the light and colors:
- Does the photo look underexposed (too dark) or overexposed (too bright)?
- Do the colors look natural? (e.g. does something that’s white look white? Do your subject’s skin, or the sky, look the correct color and tone?)
Most of the editing tools in image editing apps are designed to resolve issues with these two variables, and that’s what we’ll focus on. We’ll also look at improving composition with cropping and rotation tools.
Before you start editing a batch of photos, examine each photo and note down what needs fixing. If editing on a computer, duplicate all the photos and save them in a separate folder, for before-and-after comparison.
Adjust one or two, maximum three parameters. Don’t tweak everything. And remember the mantra: “Everything in moderation”.
What’s that in my app?

Shown above are some of the tools included in the Photos app for iOS, the photo scanner app for iOS, Pic Scanner Gold, and the photo editing app, VSCO for Android. You’ll find many of these tools in other photo apps — either with the same or different names.
(Metadata editing is beyond the scope of this article. To learn how to view and edit metadata, read this article.)
Demystifying image editing tools
W e have grouped image editing tools into 3 categories: Essential, combo and other tools. As noted above, many functions are just programmatic combos of other functions — so it’s possible to get similar results with different combinations of tools. Many roads; same destination.
ESSENTIAL TOOLS
Brightness: This control uniformly changes all the colors, from extremely light (white) to extremely dark (black). You can use it to make the overall picture lighter or darker, not to brighten or darken selective areas.

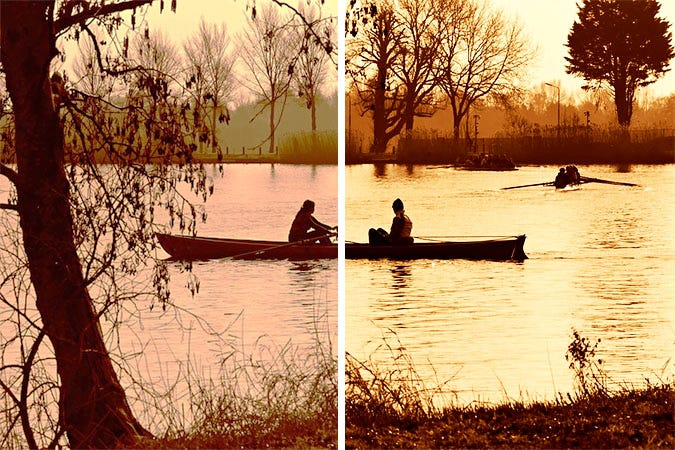
Contrast: The amount of contrast in a photo refers to the difference between its lightest and darkest areas. Increasing contrast makes the light areas lighter and dark areas darker. It makes the details clearer, and gives a zippy, energetic feel to the image. Decreasing contrast reduces the overall tonal difference, giving a vintage, subdued or possibly dreamy feel.
Exposure: Refers to the amount of light used in capturing the image. Less light than needed, the photo will be dark or underexposed. Excess light, the other way round. The Exposure tool compensates for too much/too little light, but use carefully: increasing its value excessively may add noise to the image.
Warmth (Cast in Photos for iOS and Mac): Increasing it boosts orange tones; decreasing it boosts blue tones. If a photo looks “too blue” or “too yellow”, a little tweaking with this tool can make it look more natural.

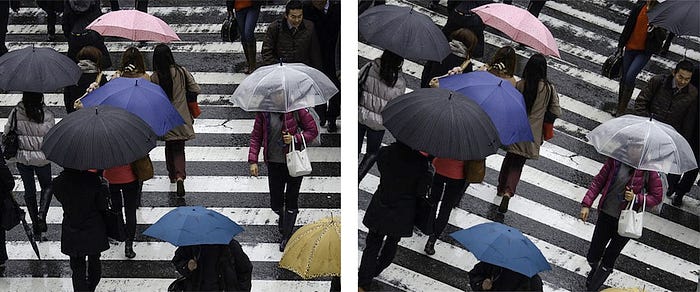
Hue: Also called Tint. If an old color photo has got a color cast or sepia tones, a slight adjustment with this tool may correct them. Use it liberally, and you’ll change the picture’s colors entirely for a surreal feel.
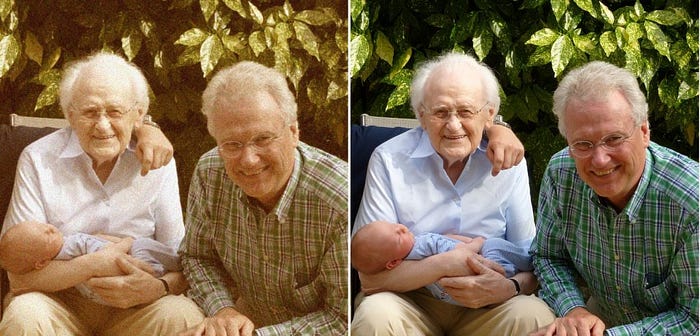
Saturation: This tool changes the intensity of all the colors equally. Just a tiny boost will improve old photos that look washed out. Use sparingly, especially on portraits or group photos, in order to avoid imparting an unnatural red hue to the subjects’ skin. Excess saturation also makes photos look garish.
Highlights/Shadows: The former adjusts the details in the brighter parts of the photo; the latter in the darker parts.
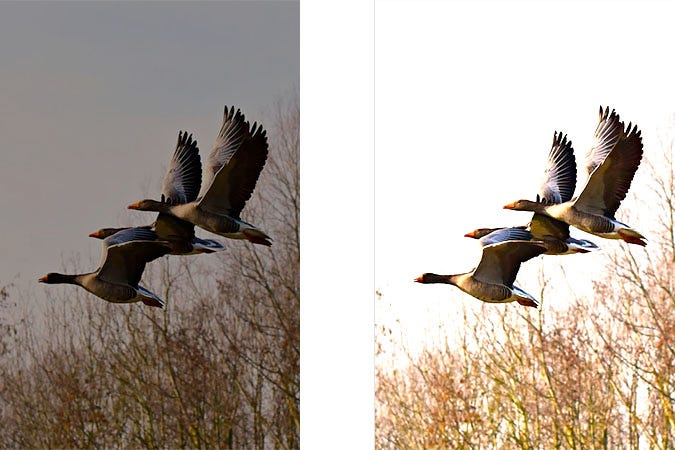
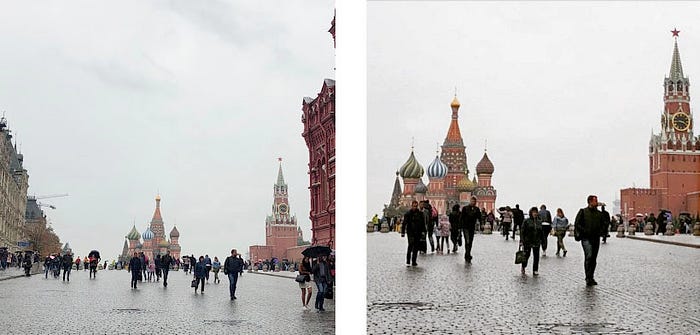
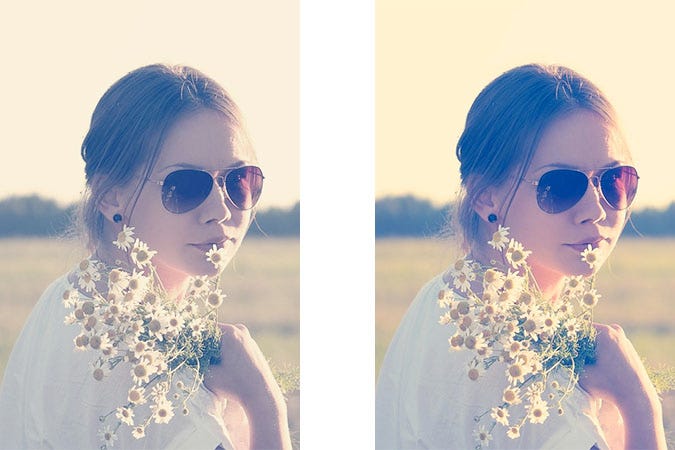
Photos taken in bright light may contain glare. Lens glare can be avoided by changing your position or camera direction, but if you already have a photo with glare, adjust (increase) Highlights, (decrease) Shadows, and — if necessary — decrease Brightness. Won’t completely remove glare, but will visibly improve the photo. See below:

Sharpen (or Sharpness or Clarity): Increases the contrast between dark and light pixels along the edges of objects in a picture, thus highlighting the edges. It doesn’t correct blurred, out-of-focus photos. Apply 5–10% sharpening, as the last step in editing. Don’t over-sharpen, otherwise you’ll get unsightly halos along the objects’ edges and noise throughout.
White balance: When you take photos, you want the colors to look natural, right? But the same clothes can look quite different when photographed in natural daylight, under fluorescent light, or incandescent light. Every digital camera has a preset to compensate for different “color temperatures”, such as cool vs. warm. If white balance is set correctly, whites will look white — not yellow or blue. If your camera or phone’s white balance isn’t set properly, you can adjust the photos in post-processing, using the white balance tool.
Crop and Rotate: You almost certainly know these functions well, but don’t skip ahead just yet. There’s more to these tools than just trimming, adjusting aspect ratios and rotating photos (e.g. to straighten the horizon):
- Creative cropping can turn a pedestrian picture into a well composed, visually arresting one. Use cropping to remove unwanted or unnecessary elements, to focus attention on the most important part of your photo, change the perspective, or to improve the photo’s aesthetics.
- Crop tool offers another important, seldom mentioned possibility. Most phone cameras have digital zoom, and using it gives low-resolution photos. You should never zoom when shooting with a fixed lens phone camera. But what you could do is to take in just a bit more of the scene than you need, and then crop to achieve the exact composition you want.
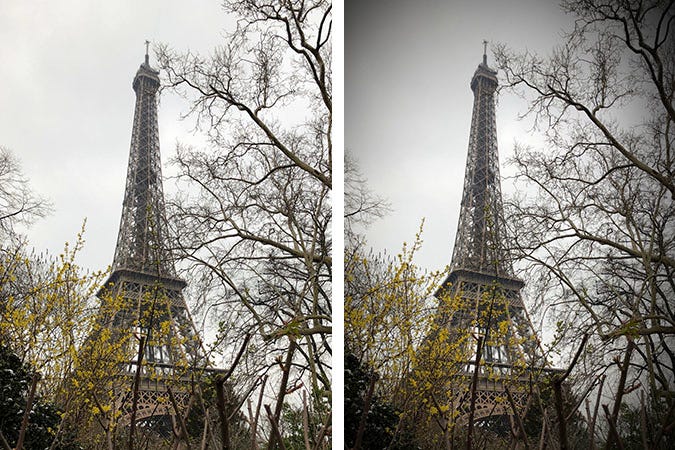
- Deliberately tilting a photo with Rotate tool can sometimes give it a more striking, unexpected look:
COMBO TOOLS
Enhance: This tool promises the lazy photographer one-touch optimization of photos. It offers several preset modes, each of which applies a preset combo of settings. If one of these does the job for you, it’s there!

Lightness: Just a combination of brightness and contrast. You are better off adjusting brightness and contrast independently.
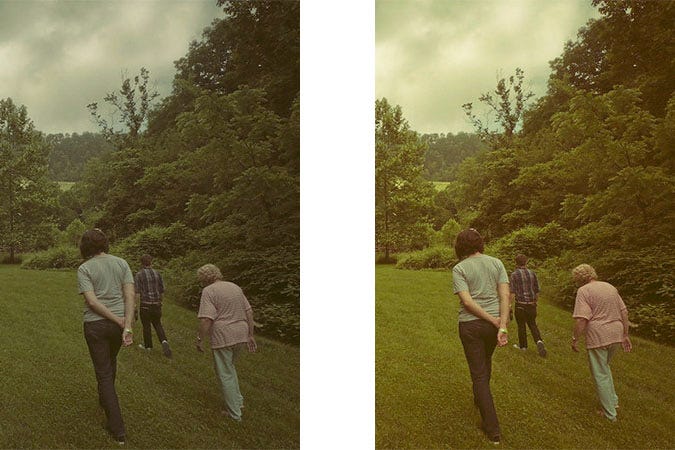
Fade: This combo-tool softens all the colors and reduces contrast, to create a vintage photo effect.
Vibrance: Is that even a word? Photoshop made it one, and many apps offer it. Increasing it increases the saturation of less-saturated colors more than the colors that are already saturated. What makes it useful is that it does this without making skin tones over saturated.
Brilliance: Combo tool in Photos for iOS and Mac apps. It brightens shadows, tones down highlights, and modulates contrast — making details clearer and making images more vibrant.
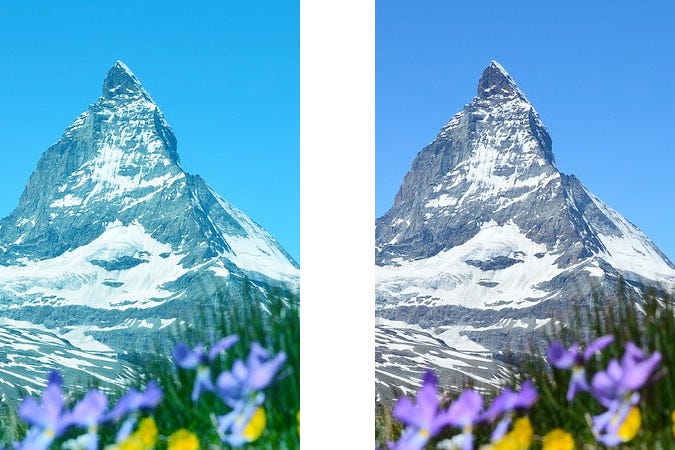
Luminance: This tool is usually grouped with hue and saturation, and is used to adjust the intensity of light. If you want make a cloudy day look like a sunny day or vice versa, this is the tool to use.
OTHER TOOLS
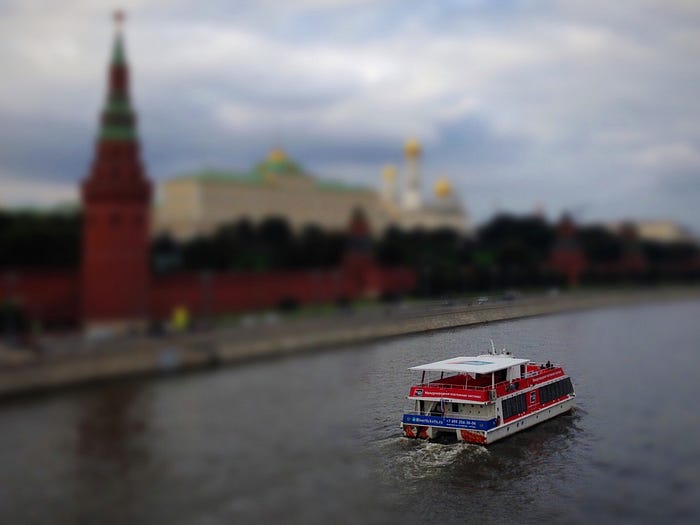
Focus: This tool lets you create a focal point in a photo by keeping it in sharp focus while blurring out the rest of the picture. You can use it to create very interesting effects and tilt-shift photos (Read how).
Blemish removal: For clearing small stains or dirt marks. To use it, select the correcting circle size and tap repeatedly at the blemish. This tool samples the pixels all round where you tap, and fills the circle with the interpolated color. Works better if the affected area is of uniform color.
Vignette: Darkens the edges of a photo, while leaving the center bright. Use it to give photos a vintage look or draw attention to the brighter part.
Black point / White Point: The darkest and the lightest parts of your photo, respectively. These settings define the image’s tonal range and impact the functioning of contrast, brightness and other tone-related tools. Especially important for B&W photography. If you’re a lay user, don’t mess with these!
There! You’re now better-informed about your photo apps’ editing tools than you were 7 minutes ago. If you want to know more about any of these, or spot something we’ve missed out, please leave a comment below.
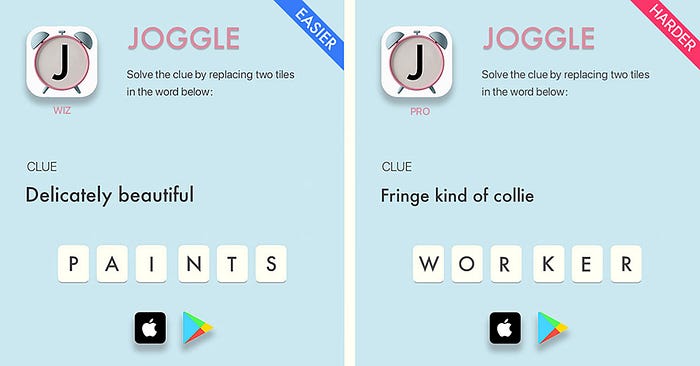
Next: Looking for the Next Big Word Game?
Check out JOGGLE, my new, free, mildly cerebral word game. Inspired by crossword puzzles, but with a novel twist. Brain-twisters for novice, intermediate as well as accomplished cruciverbalists. Read about it here.